Atelier Bonryu(E)
infrared photography


Atelier Bonryu(E)
infrared photography

Laboratory: Infrared Photography
II. Taking Infrared Photographs
2-1 Camera for IR Photography
Sensor of Camera: Because sensors (CCD or CMOS) used for a digital camera detect only intensities of lights. As they cannot distinguish the difference of colors, color filters for red (R), green (G), and blue (B) lights are used to decompose the incident lights to intensities of R, G, and B signals and to record the colors of an image. Moreover, as described previously, because the sensitivity of a sensor to infrared lights is very high and the above described color filters (the Bayer filters) cannot reduce the incident infrared lights to undetectable level, an IR cutoff filter is usually placed in front of the sensor of a digital camera. Furthermore, even the IR cutoff filter does not block the IR light completely. Our present purpose is to take an infrared photograph by utilizing the slight infrared lights sneaking through this IR cutoff filter. Therefore, the overall sensitivity of a digital camera to infrared lights is determined by the performance (incompleteness!) of the IR cutoff filter and the sensor of the camera. Consequently the sensitivity varies considerably from a digital camera to another.
If a digital camera has a live view screen it is easy to check whether the sensitivity to infrared light is high enough or not by pointing the camera lens to an IR window of a TV remote controller (Figs.2-1, 2-2). The light from the IR window of the TV remote controller cannot be seen by our naked eyes. By this test it is found that many point-and-shoot cameras and mirrorless SL cameras have sufficiently high sensitivity to take an infrared photograph. Some non-converted SLR cameras are also usable for the infrared photography but as most SLR cameras have no live view screen we cannot check a camera in this way. Next thing we need is, therefore, to choose a filter which is transparent to the infrared lights but opaque to the visible lights, and fix it in front of a taking lens of the camera as an external filter.


Complete Guide to Digital
Infrared Photography
(English Edition)
Handbook of
False Color Infrared Photography
(Japanese Edition)
Camera Used for Taking Infrared Photograph: In order to take an infrared photograph it is, of course, necessary to have a camera on hand which can detect and record a light with long wavelength in the range of the infrared light. For this purpose there are two choices as follows.
1)To use a camera available to the market as it is.
2) To use a camera converted for the infrared photography.
As the cameras in the market are made to avoid the infrared light, it is of course that the converted cameras are more appropriate for the infrared photography. However, some non-converted cameras can be used for the infrared photography satisfactorily enough. Here, let’s start the infrared photography by using a non-converted camera.
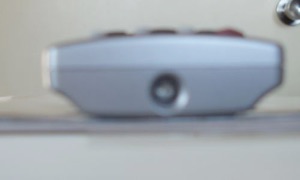
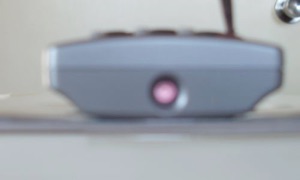
Fig.2-1 IR window of a TV remote controller. Power switch is turned off.
Fig.2-2 IR window of a TV remote controller. Power switch is turned on.
IR Converted Camera: The other choice for the IR photography is to convert a camera by removing the IR cutoff filter in front of the sensor so that the sensitivity for the infrared is increased. Detailed explanation of the conversion will be described in 2-4, as an infrared photograph is taken anyway by using an non-converted camera which cleared the above test by using the IR light from the TV remote controller.
